Actually, in a sense, Saturday was actually very productive. I completed BHL's Polly top, along with modifications for my growing tummy, however as I had put it over my Dressmaker's dummy I forgot all about it and so I'm not going to talk about that one today! I also cut a hand towel in half, added some binding down the raw edge and ta-da I now have two small towels for use in the kitchen. I'd have taken photo's, but in reality it looks even more mundane than I've described!!!
Then I finally got round to modifying some maternity jeans that I bought from eBay. I'd received 2 in the listing, both faded black, one with 'over the bump' style band and the other with the 'under the bump' style band. I did not like the under the bump style at all. after trying them on I found that they made me look like I had a muffin top and the band was quite tight and stiff which kinda made them uncomfortable to wear. So, I had to do something about that.

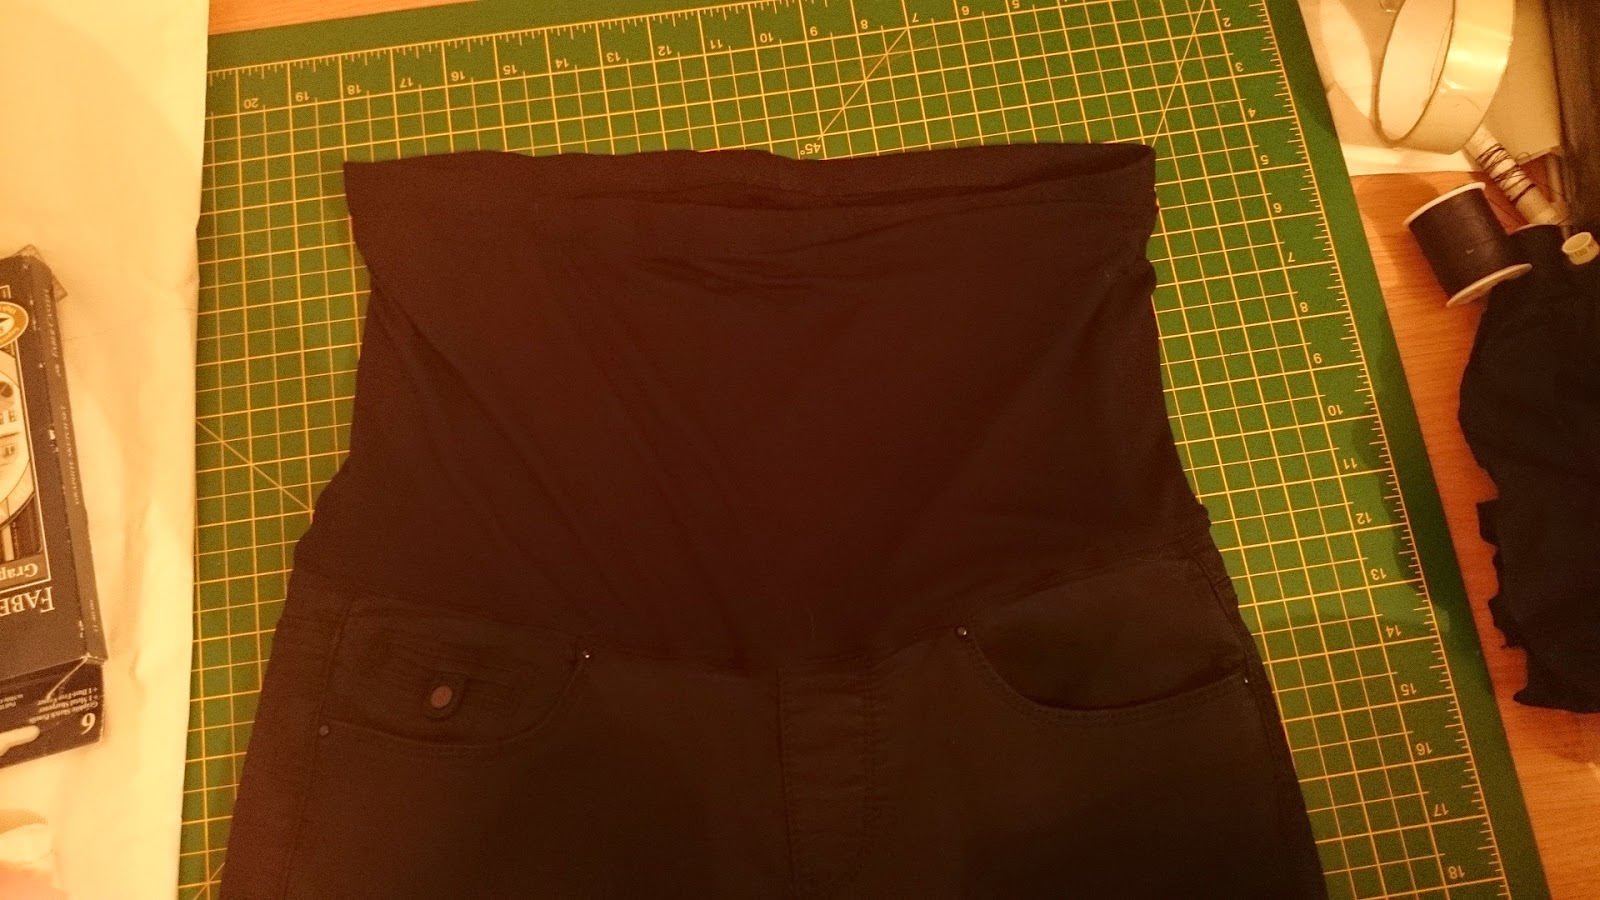
'Under the bump' style waistband

It came off easy enough, but there were many layers of stitching keeping it all together. They'd used a thick band of elastic and covered it with some thick jersey, each layer stitched individually to the jeans.
Then I measure the waistline of the jeans and my bump and cut out a large rectangle of jersey material. The jersey that I used was a 2 way stretch, so I made sure that it stretched horizontally and not vertically to accommodate a growing bump. As I was going to be doubling the band up I'd made it twice as big as I'd needed it and stitched in the elastic half way down the seamed side and then folded over so that the raw edges could be attached to the jeans. For some extra security I folded the jersey over the elastic waistband again and stitched in place with a zig zag stitch.

I don't think this picture is very clear with it all being black, but it now looks like the waistband of a pair of leggings. I then stitched right sides together the front layer of the jersey to the waist of the jeans, then folded the raw edge of the inner layer of jersey and pinned it to the inside so that no raw edges of jeans are exposed and stitched in place from the right side layer, through the denim so that it would catch the inner layer. I used my stretch stitch for this for extra durability.

I think they turned out pretty well and they are sooooo comfy. Obviously not the most attractive but the bump band will always be covered by a top of some description! But... can you see how faded the jeans are? They look more like grey jeans than black. So I bought some Dylon renovator to have a go at returning them to black. I bought this one from the Quilted bear on Amazon for £4.30 inc p&p.

I've never tried dying any of my clothing before, so this was a bit of a test for me. You use one sachet for up to 300g of clothing and both sachets for up to 600g. The jeans weighed in at just over 300g so I decided to go for just the one sachet. I also added salt like it suggests for really faded items. The instructions on the back are pretty comprehensive. So you chuck it in your washing machine on a normal 40'c cycle with detergent and at the end of the cycle you end up with black jeans! It's amazing, I couldn't believe my eyes as some of the reviews for this product were a little mixed.
I must have taken at least 10 photo's of the finished product, messing around with my camera settings but I couldn't show you exactly how black they are. A mixture of the flash or the light in my sewing room was causing some issues and this is the best picture that I managed to take, so you'll have to take my word on this one - it worked.
Overall, I'm really pleased with the outcome of these. I now have what looks to be a brand new pair of black Maternity jeans with an 'over the bump' style band, for a fraction of the cost of a pair in the shops. I bought the two pairs of jeans from eBay at £6 inc p&p, the jersey was some from my stash that originally cost £3 p/m and half a packet of black renovator £2.15, so all in, it probably came to about £6-7. These maternity jeans would have cost £25 - £30 new and I've given them a new life!

Loving that you've just dived right in to refashioning!!! Way to make the jeans work for you :) Maternity clothing can sometimes be a pain, but knowing how to make the adjustments so they're comfortable is priceless.
ReplyDeleteI know!! A few months ago I was really apprehensive about cutting up rtw clothes, but after looking at your blog and all the wonderful things you've done I figured I just had to bite the bullet and give it a go :)
ReplyDelete